One of the largest projects we had to do was to drop down a ceiling in the living room. In this room we wanted to have the ceiling flat with recessed lighting. This meant framing in a new ceiling. This was no simple task...
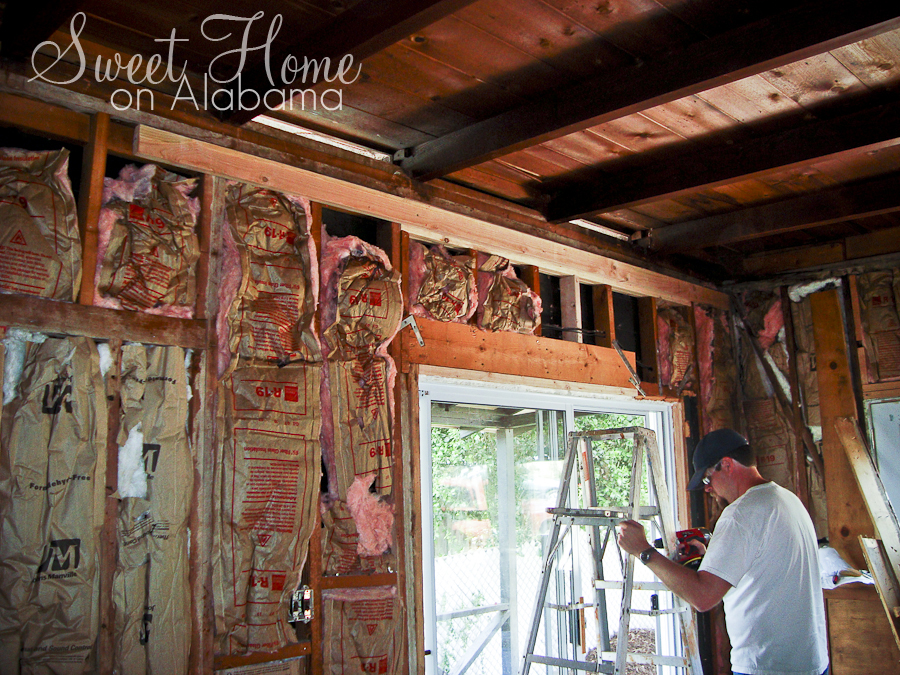
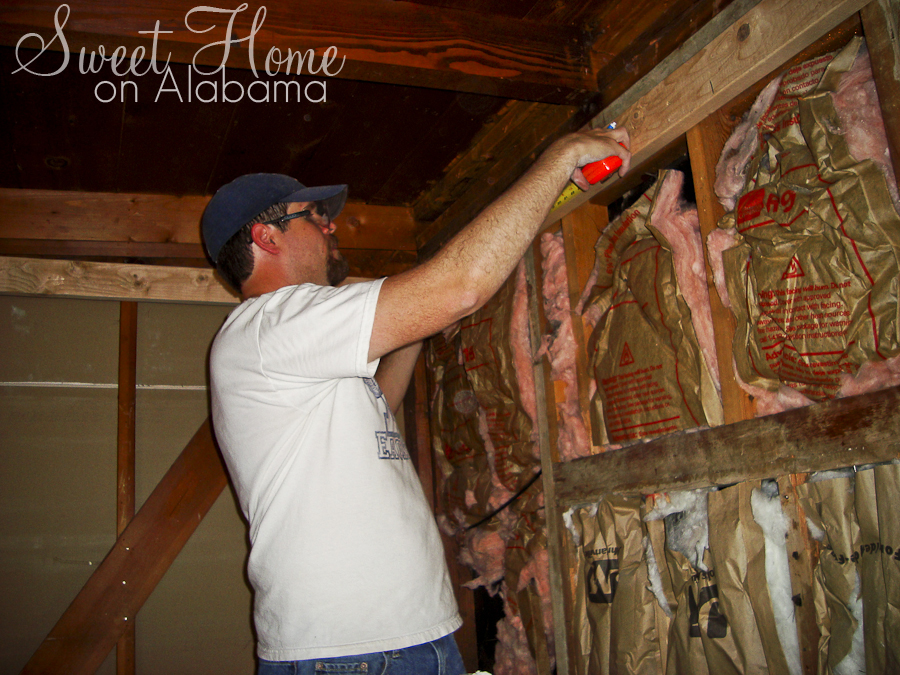
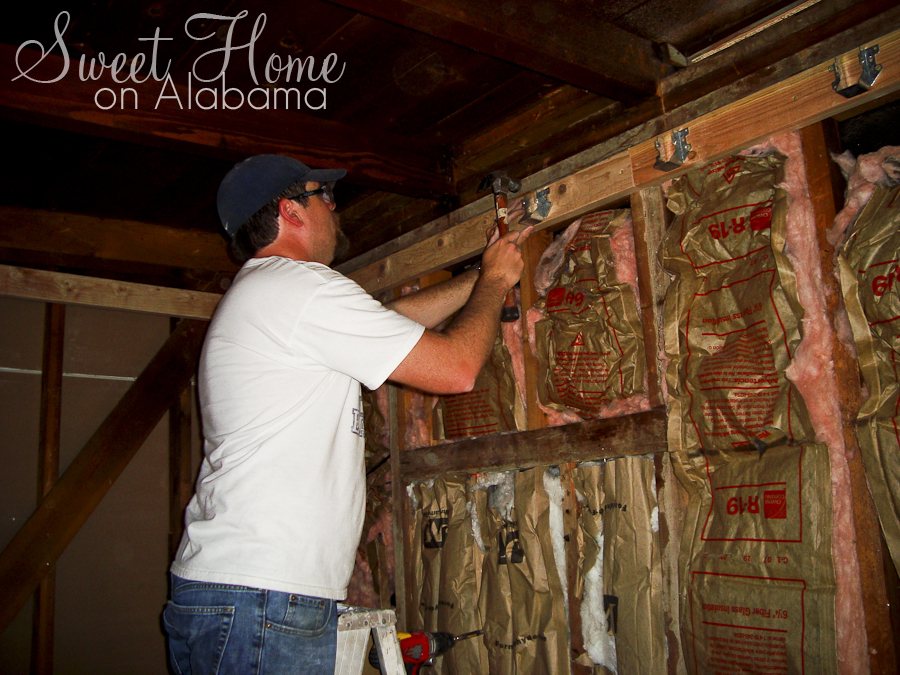
After determining a ceiling height of 8 feet 6 inches, we ran a 2x4 all the way around the perimeter of the walls in the living room and hallway. Here is Doug marking the studs to be 16 inches on center. This way the drywall on the ceiling will be less likely to sag over time.
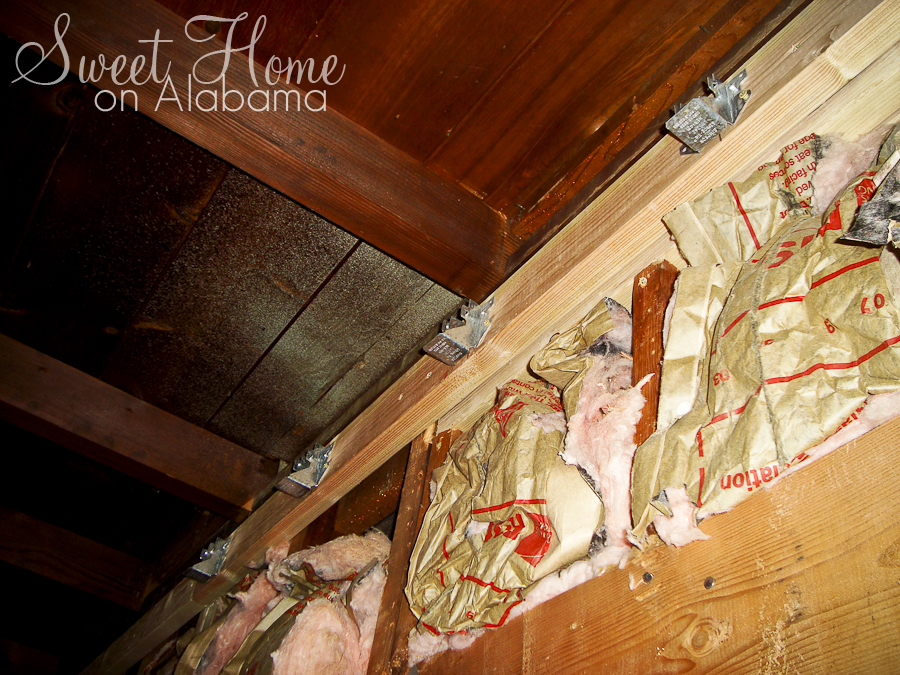
We used these handy joist hangers to make the job of placing the 11 foot beams easier.
They go in easy: Tap inplace with hammer...
...and then screw in place.
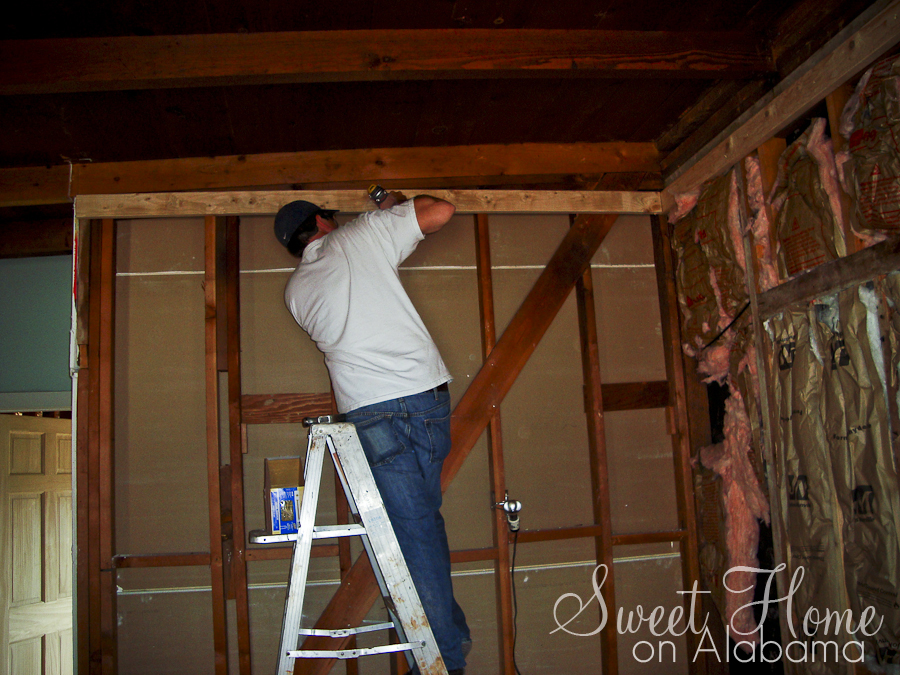
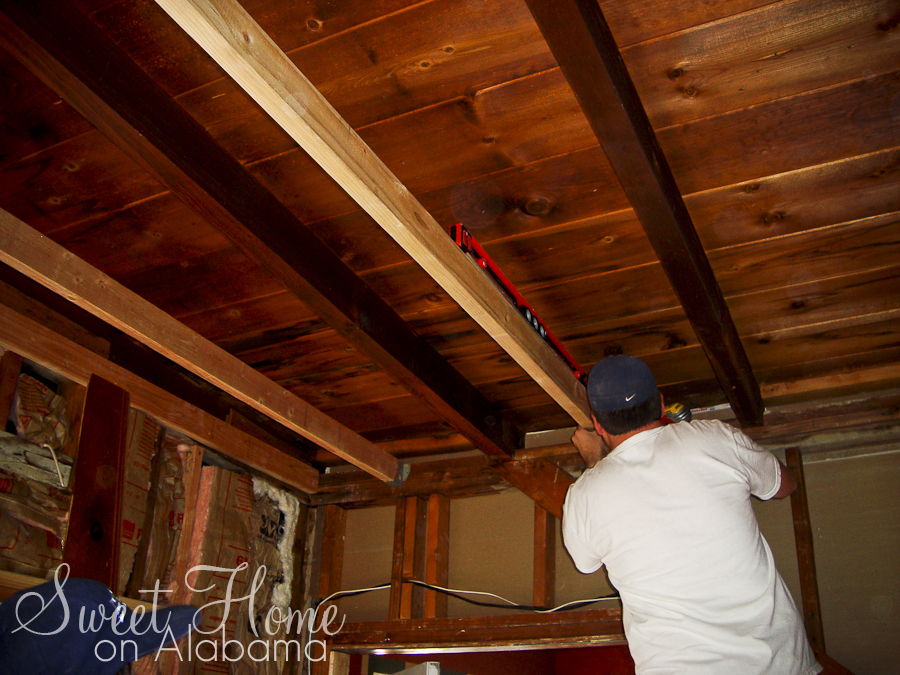
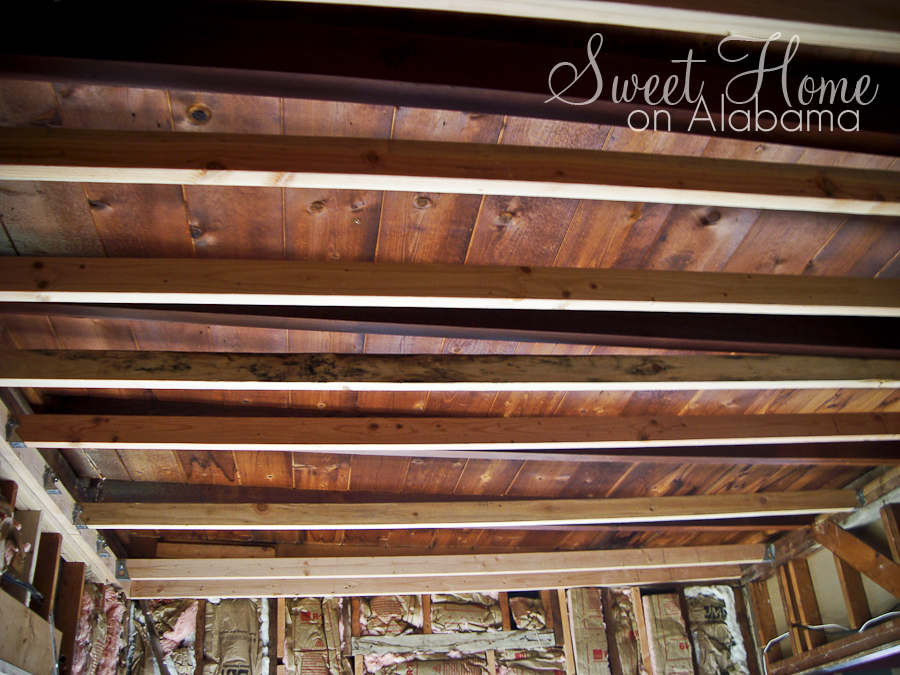
Always make sure the beams are level. The people doing drywall will thank you. Notice how Doug is skipping the beam that will need to be cut at an angle to fit in with the rafter above. Saving the hard stuff for later. It's coming along...
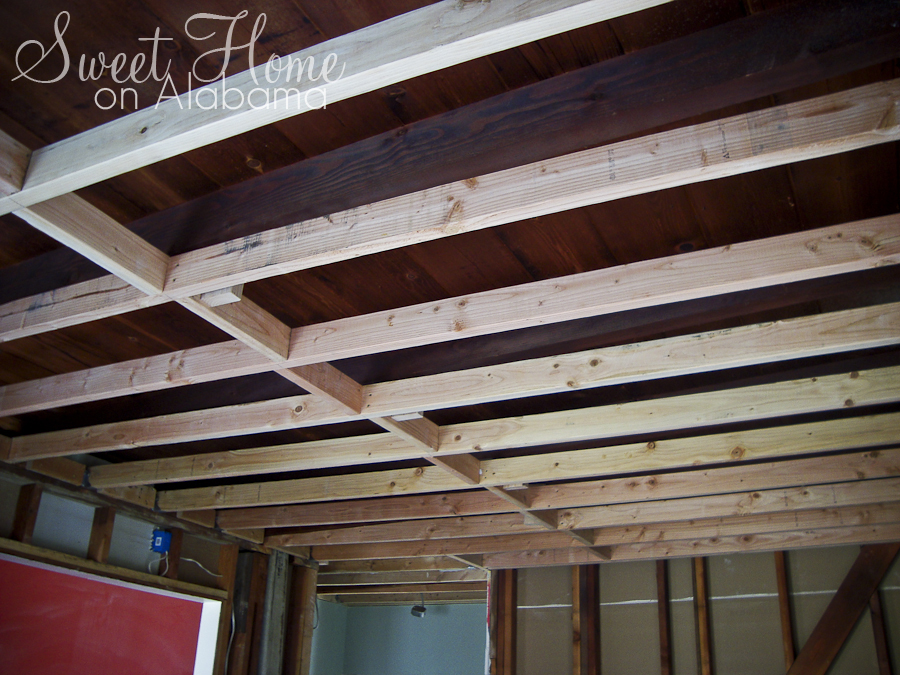
And here it is. Two days of hard work (on a ladder most of the time). Can't wait to see it with the drywall and recessed lights!
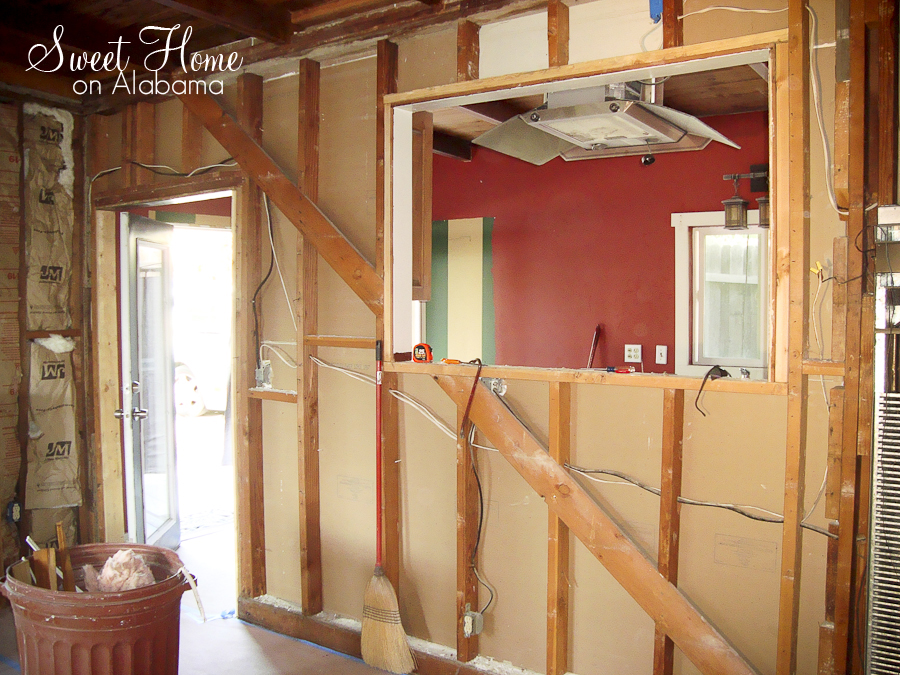
The plan for the wall between the kitchen and the living room is to turn it into a bar/counter. Since the house is pretty small, there really is no room for a regular dining room table, so we decided that putting in a bar area would be the perfect solution. It would also help open the kitchen up and make the room seem bigger.
Yesterday we took down part of the wall! Here's a quick video of the demolition in Fast Forward! Enjoy!
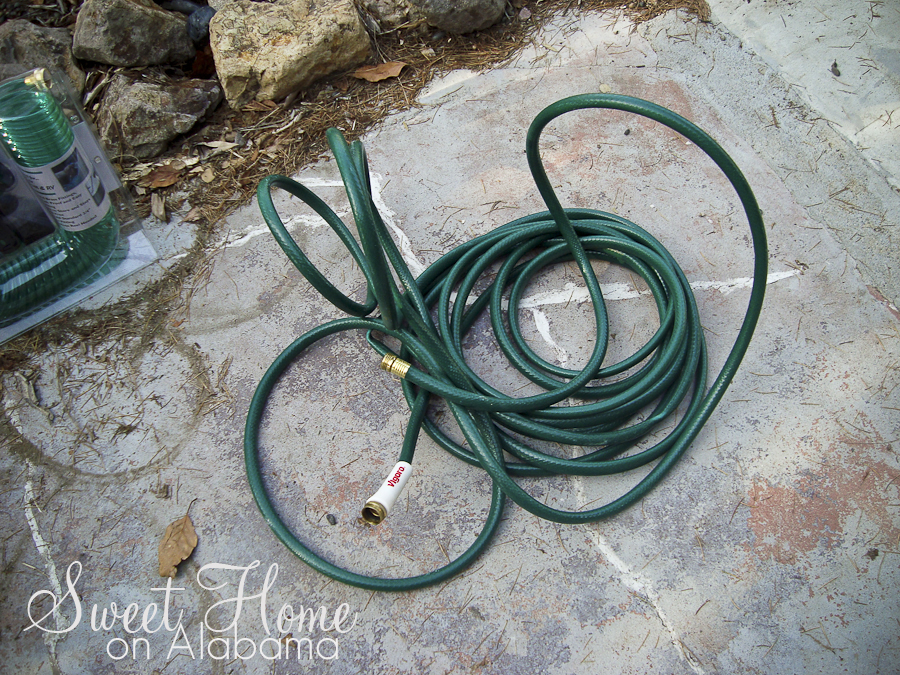
Becoming a new homeowner means you get to buy a lot of new things. Most of it being things you've never bought before. Take for example this hose:
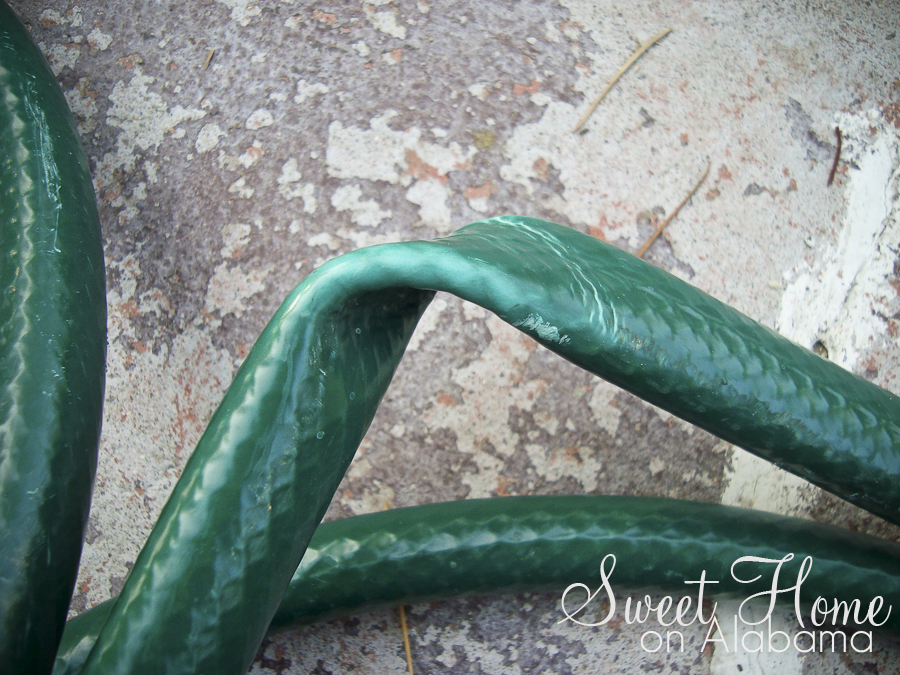
I wanted to replace the hose that came with the house. The outer shell of the hose was broken, but not quite at the point of spewing water. It was on it's last leg. So on our last trip to Home Depot, while Doug was in line, I went and grabbed a hose. I've never bought a hose before, so I grabbed the cheapest "nice" looking one. When we got to the house I replaced the old hose with the new one. I was so excited to try out my new hose. But within 30 seconds, this is what it looked like:
Horrible kinks, everywhere!
Stupid new homeowner. If you don't want your hose to kink constantly you have to spend the extra $10 on the "Non-kinking" hose!
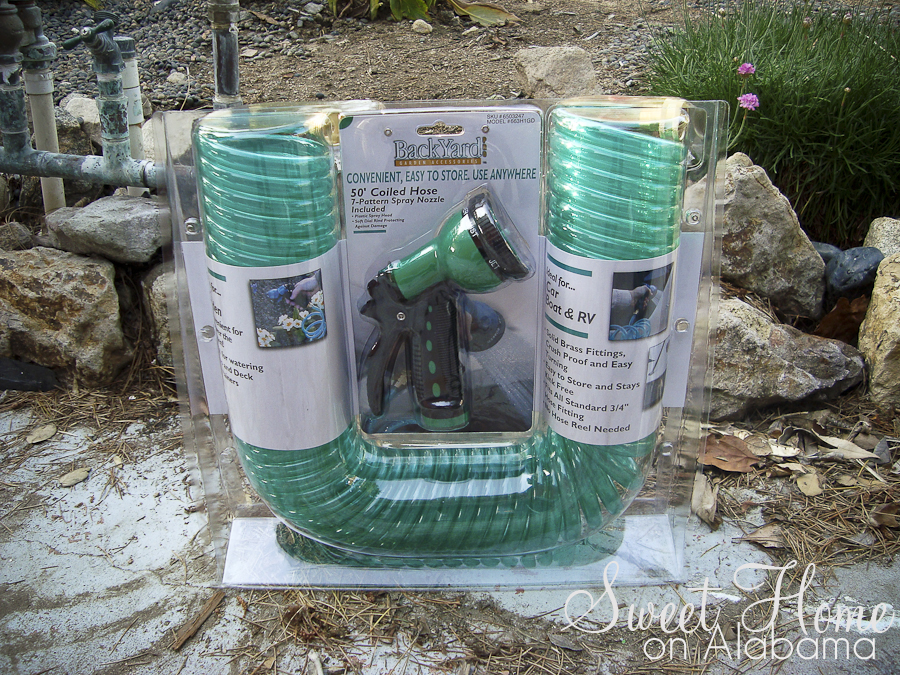
So Doug returned that one and let me get a new hose. I decided to give this one a try:
It *shouldn't* kink. It basically stores itself (I'm sooo lazy!). It's a cute color.
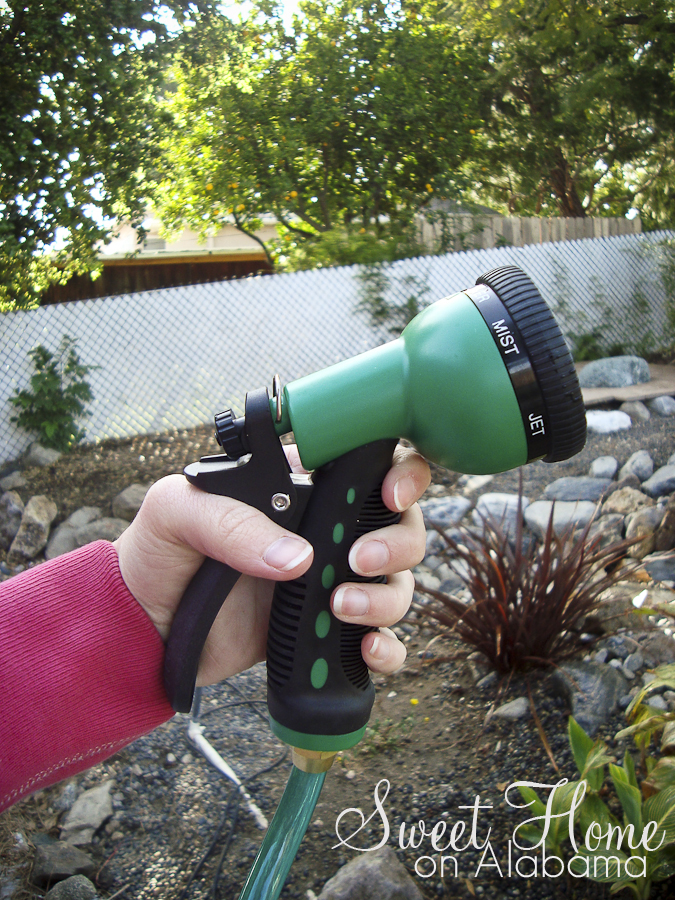
And did I mention it comes with it's own fancy 7 pattern sprayer for the same price as a regular non-kinking hose? SOLD!
I'm hoping it lasts because so far I LOVE it. But I've only had it for 3 days. We'll see.
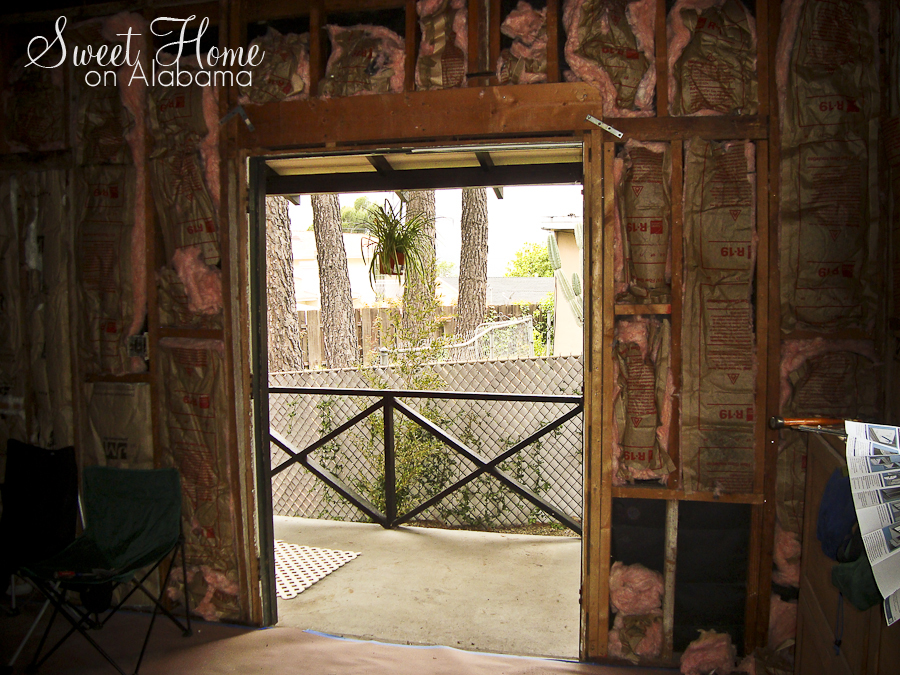
On Sunday we installed our new sliding glass door!
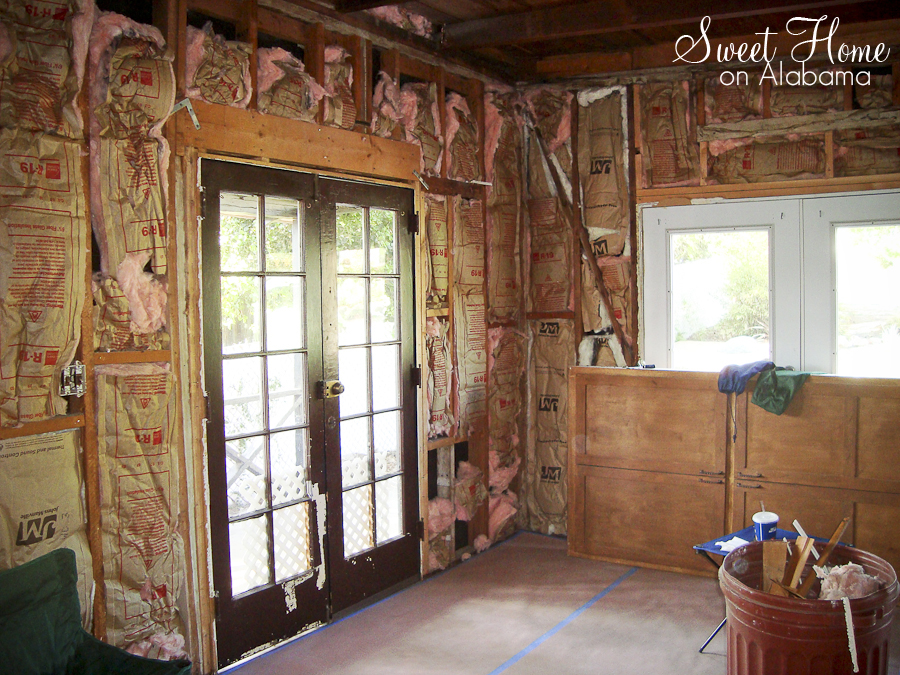
Remember this old, broken, ugly door?
Well, it's gone now! After a little convincing we were able to get it out of the wall.
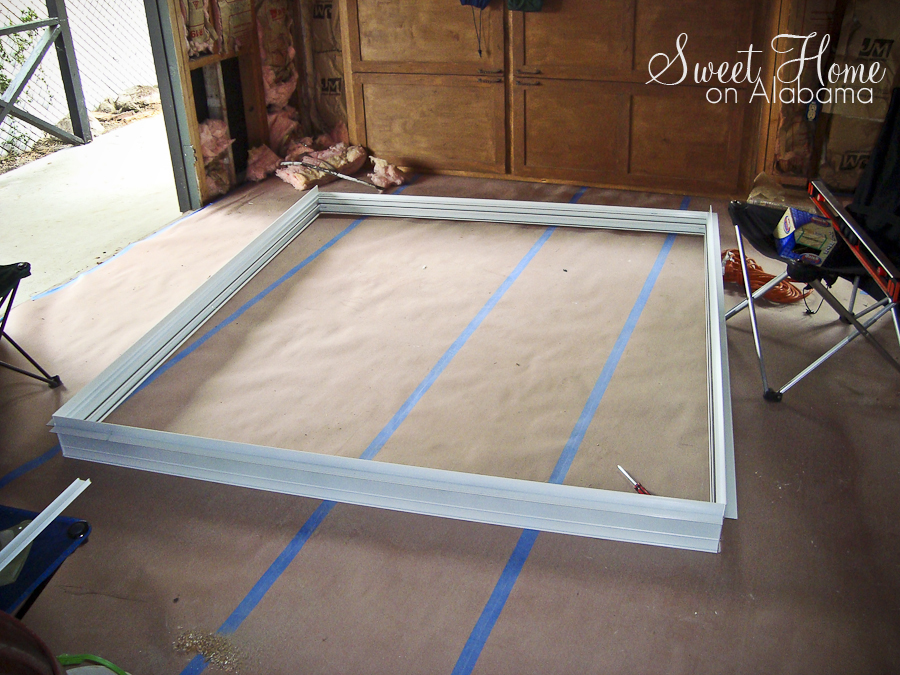
We started off by building the frame for the door. Since we didn't buy a pre-assembled door, and the instructions were pretty generic, we had to build it to measure how big of an opening to cut.
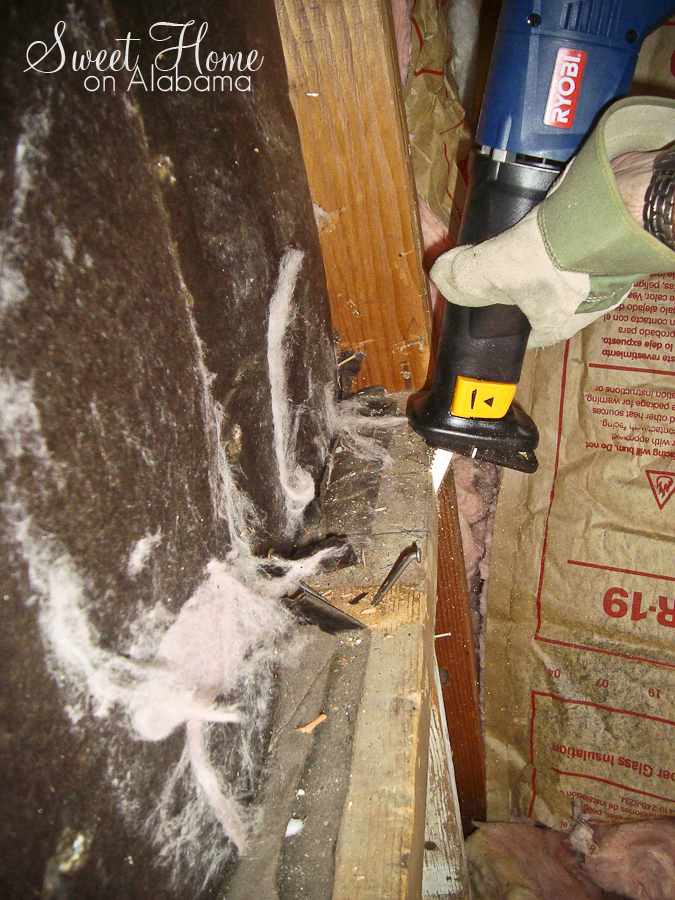
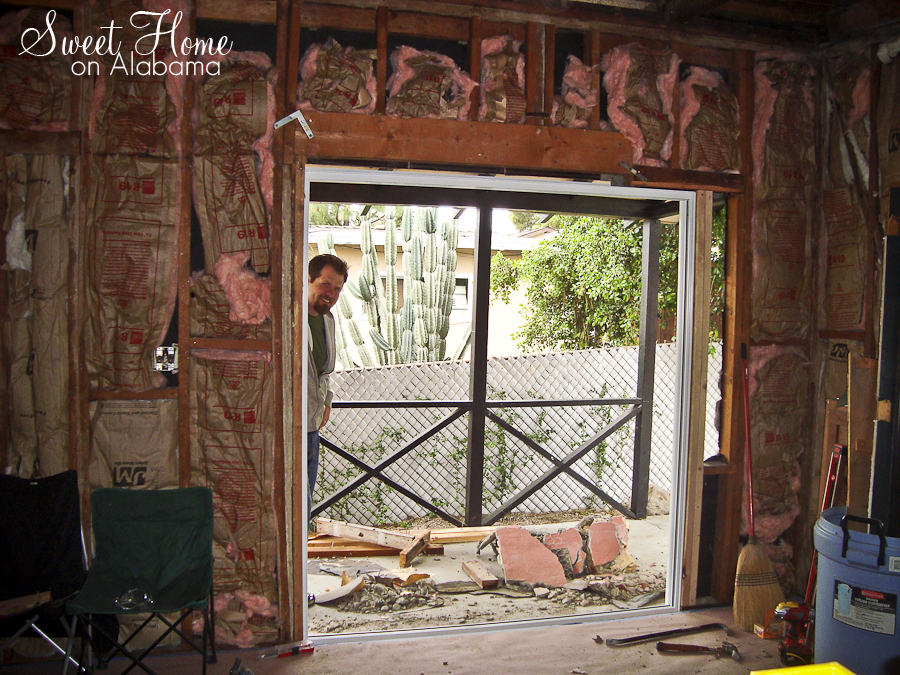
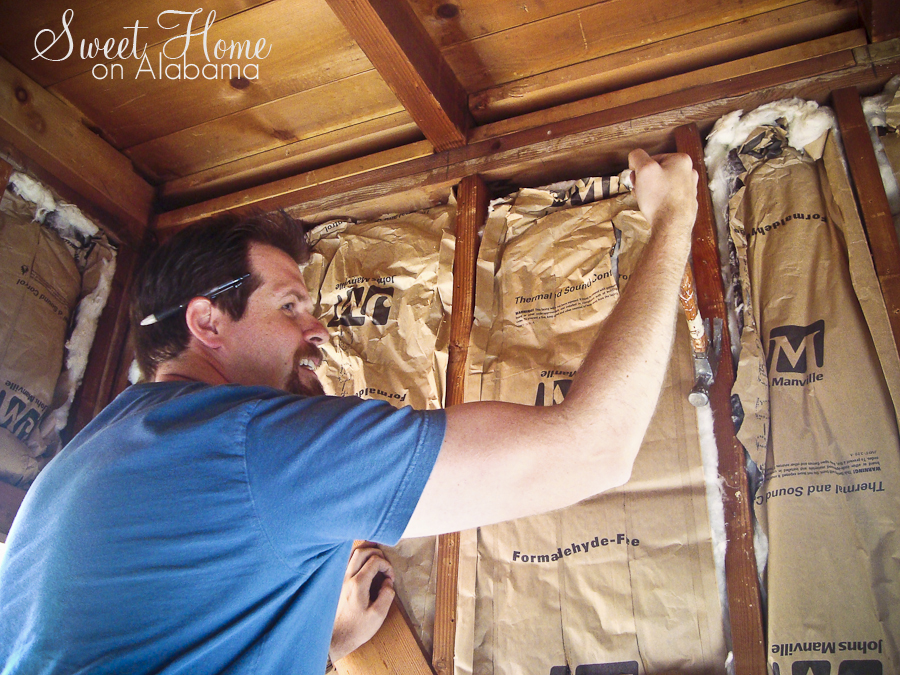
Then we had to cut the opening in the wall. We started by pulling out some of the insulation and cutting the beams.
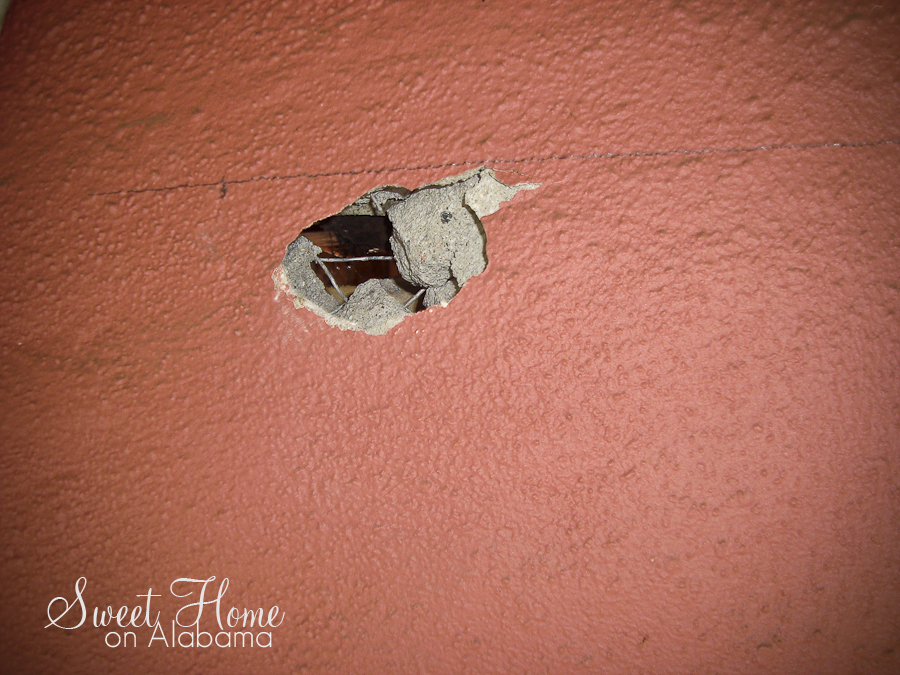
And that left us with a very thick wall of stucco...
Doug tried making a hole in the wall with a hammer.
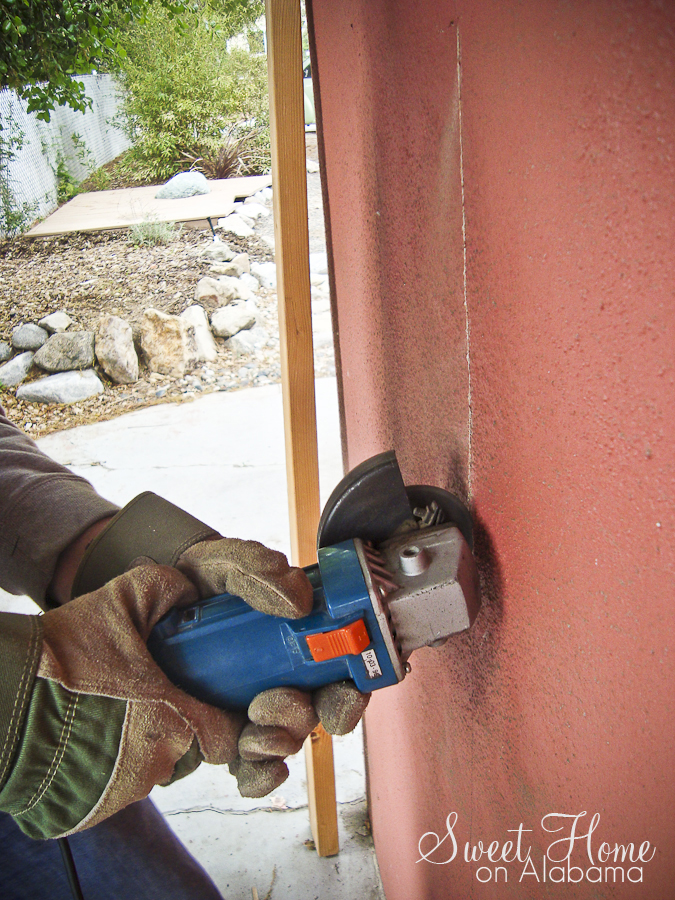
That didn't work very well, so we moved onto power tools.
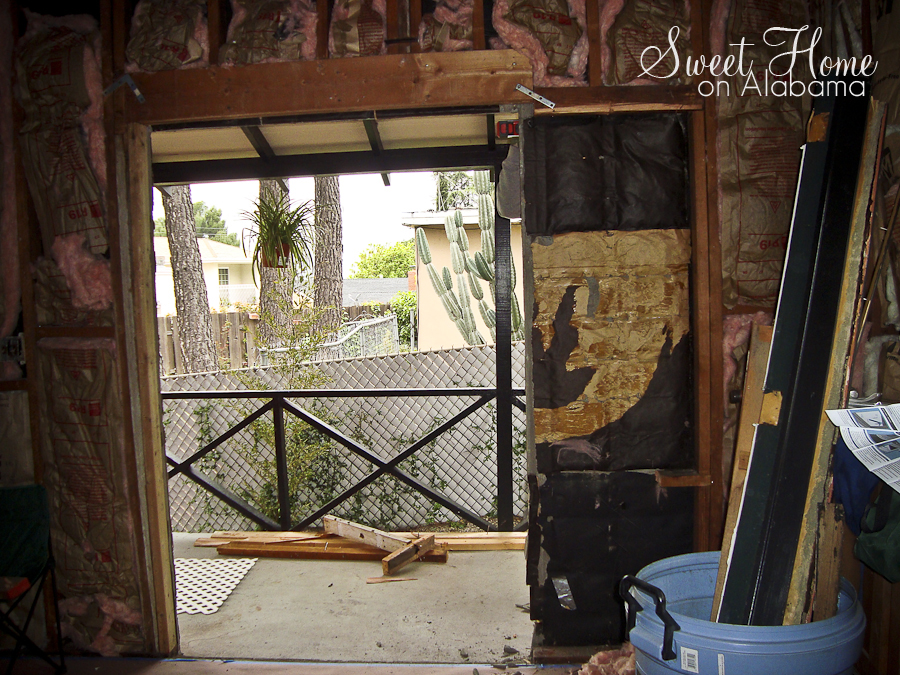
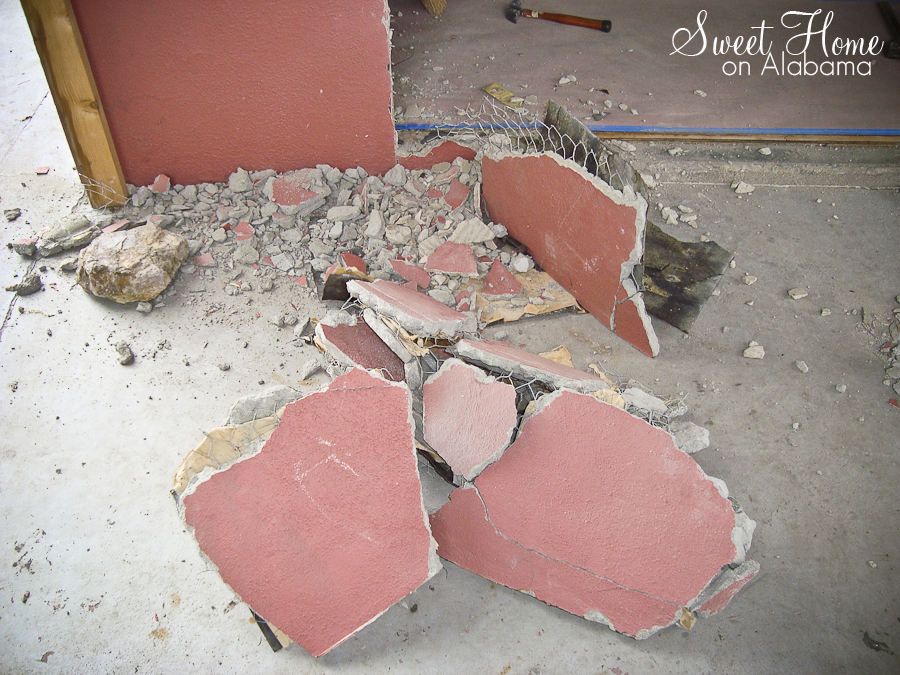
The area next to where we wanted to put the door was where a window once was. Unfortunately the stucco patch was done really thick, which made it very difficult to break without taking down the whole patch. So down came the patch.
Goodbye pink stucco!
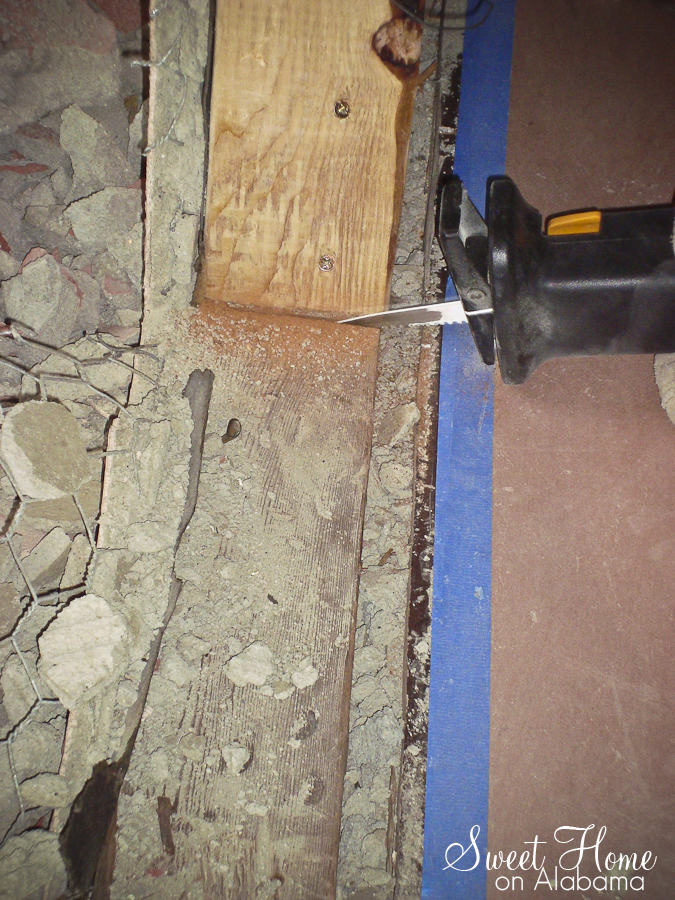
The last step was cutting out the baseboard so we could stick the frame in.
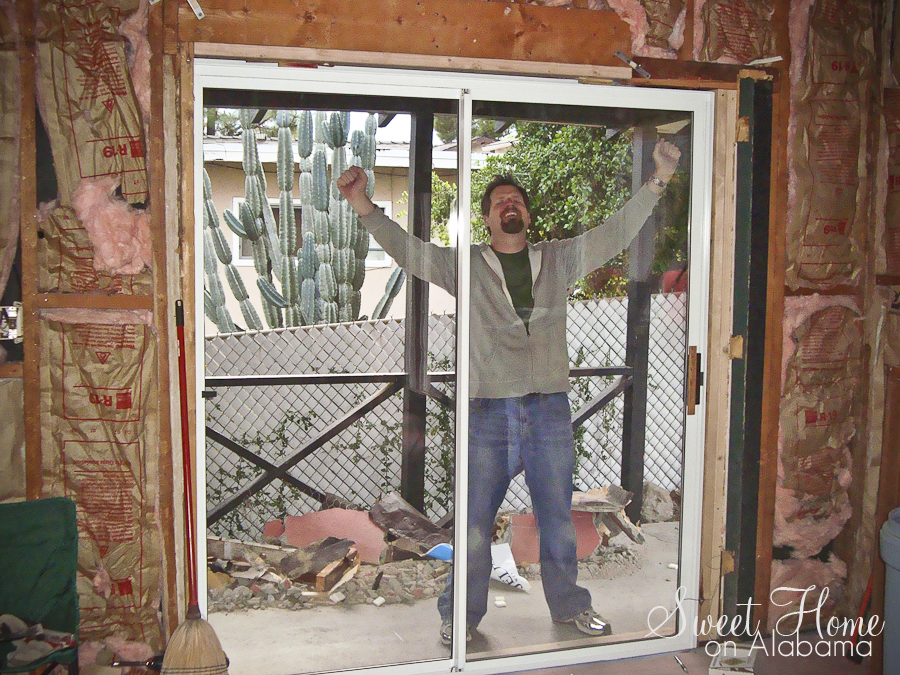
We got the frame in the hole! It fits!
And last but not least... stick the doors in place! We have a sliding glass door now!
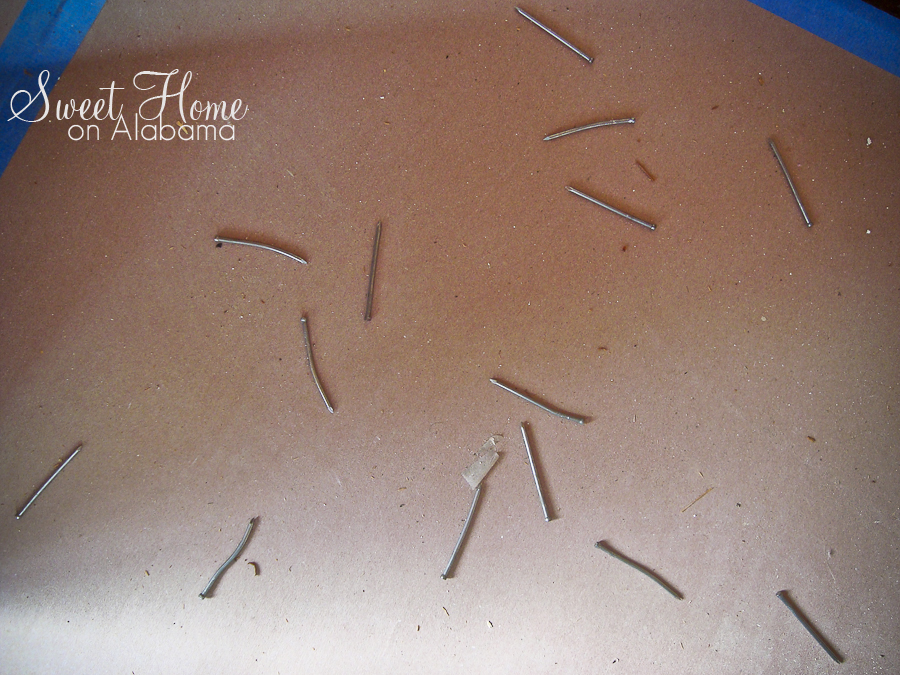
The problem with taking down wood paneling is that a lot of the nails stay in the wall. Our solution?
Nail Removing Party!
We invited my parents over Saturday to help us get all the nails out. Four sets of eyes are better then 2!
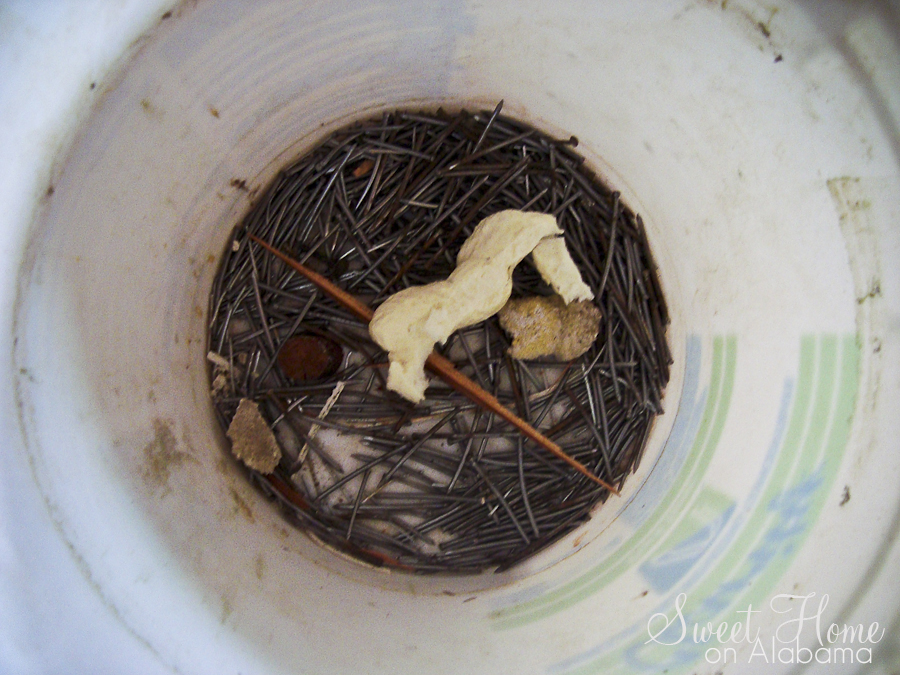
And these were just the ones my mom pulled out!
Yes, he's flexing for the picture...
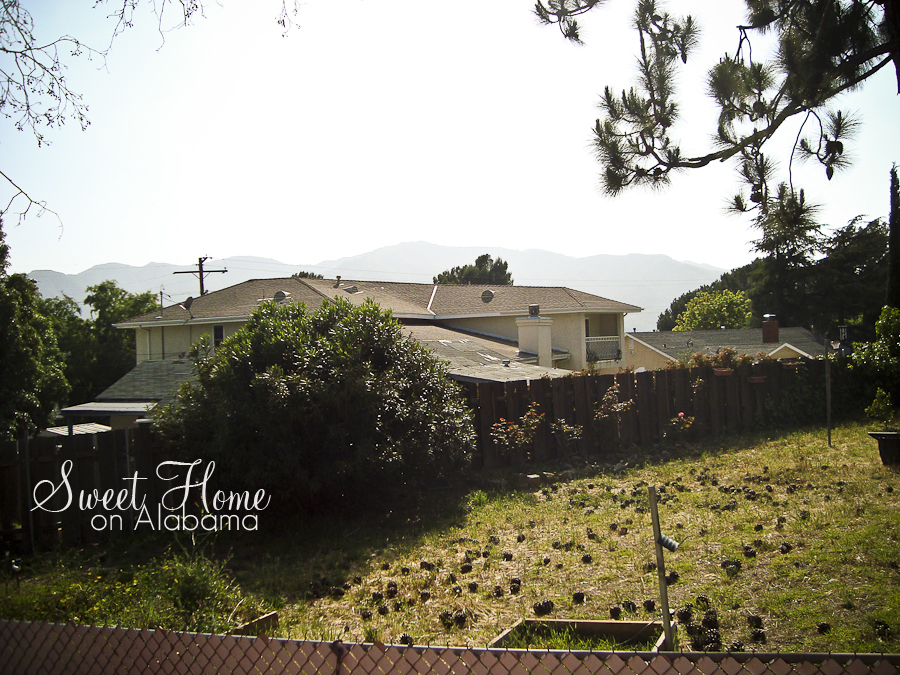
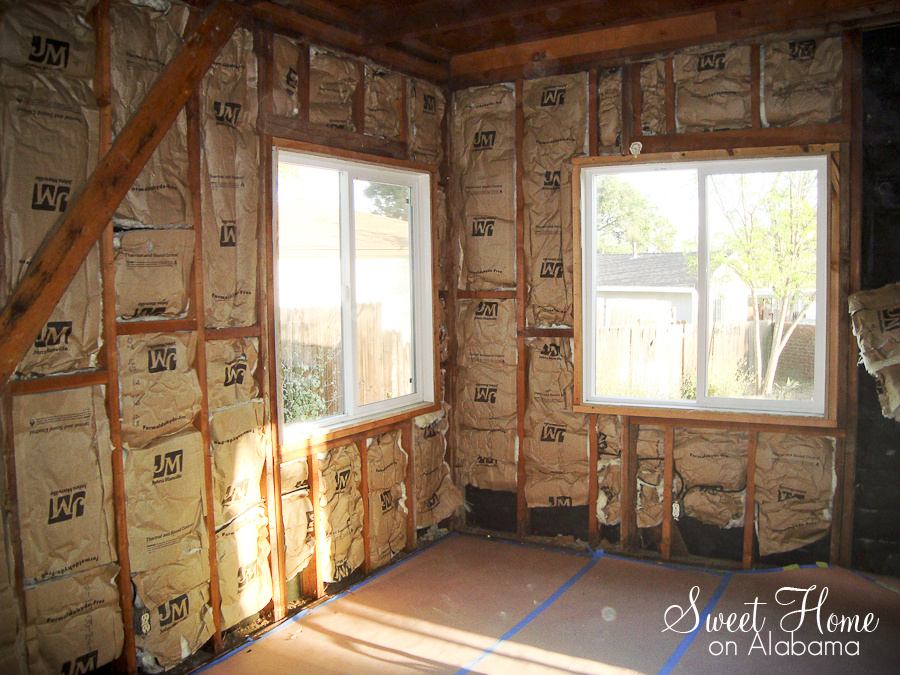
The one other thing we got done on Saturday was removing the ugly air conditioner and wood sheet from the bedroom window. It opened the room up so much to have the second half of that window back! Just look at the view now!
Tomorrow: We install a sliding glass door in the living room, and sparks fly!
*EDIT* Please excuse any errors you may find in this post. After an entire day of ripping out walls I'm so exhausted and I'm sure I've made more mistakes in this post then I ever have in a blog post.
Today was a big day... Demolition Day! We spent the entire day ripping out molding and paneling. It was hard, but so much fun! I've hated the paneling since the first time we walked into the house, so it felt very nice to rip it off the wall :)
Doug headed to the house early in the morning to get a head start. By the time I showed up, around lunchtime, he had almost finished the entire master bedroom!
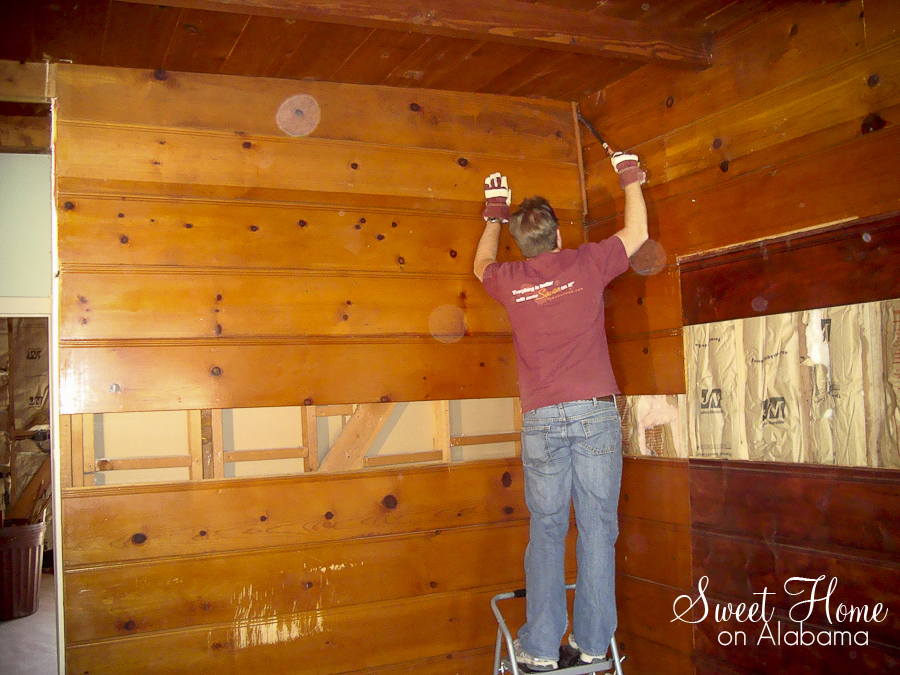
We finished up the bedroom and headed to the living room. I was really looking forward to this room.
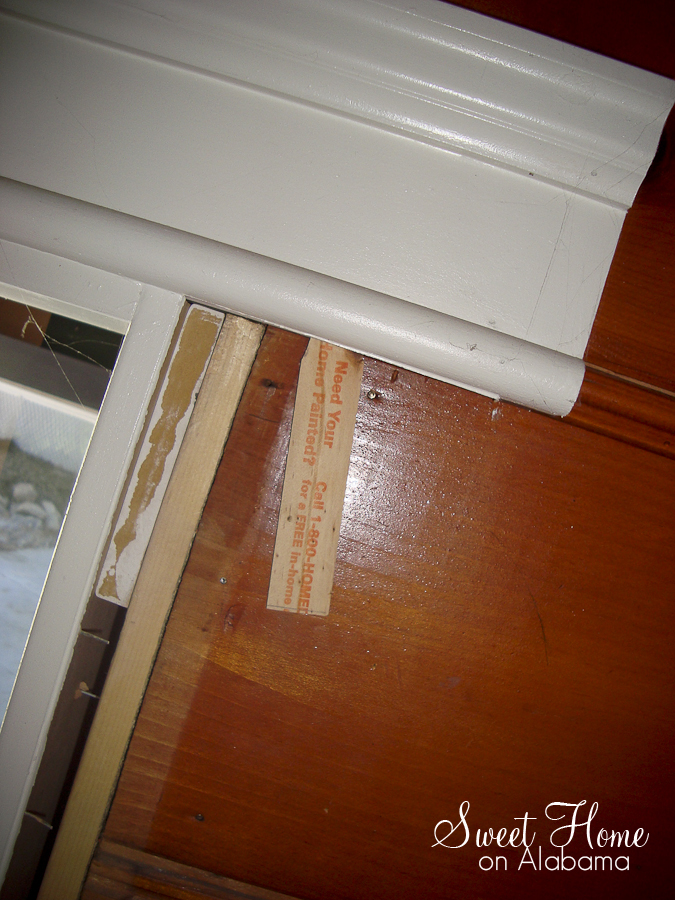
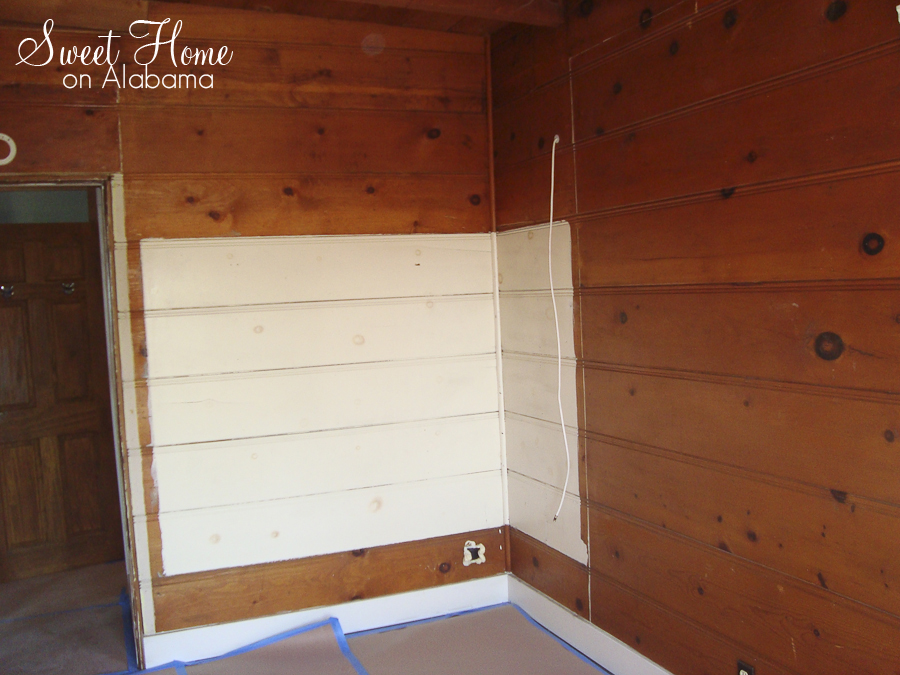
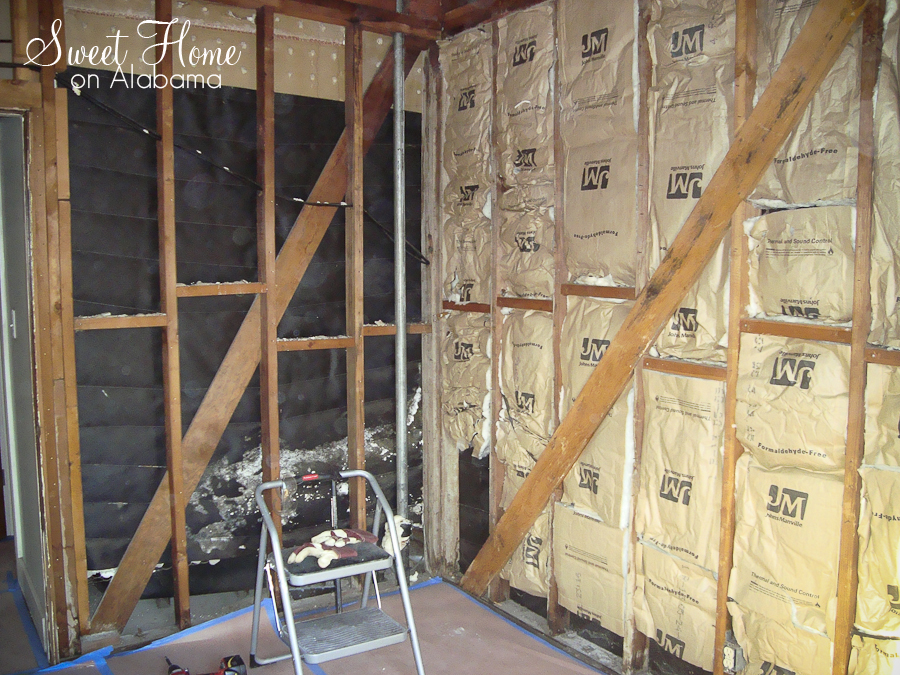
A lot of people have asked us why we want to remove the paneling, or why don't we just paint the wood. Besides wood not being our taste, there is also a lot of poor patchwork done mainly in the living room. If you look in the picture below you can see that part of the wall is MUCH darker then the rest of the wall. The darker part was a patch on the wall. The groves didn't match up at all, and the stain job on the wood was really bad. Even if we painted it, you would still notice it was there.
Our solution, drywall!
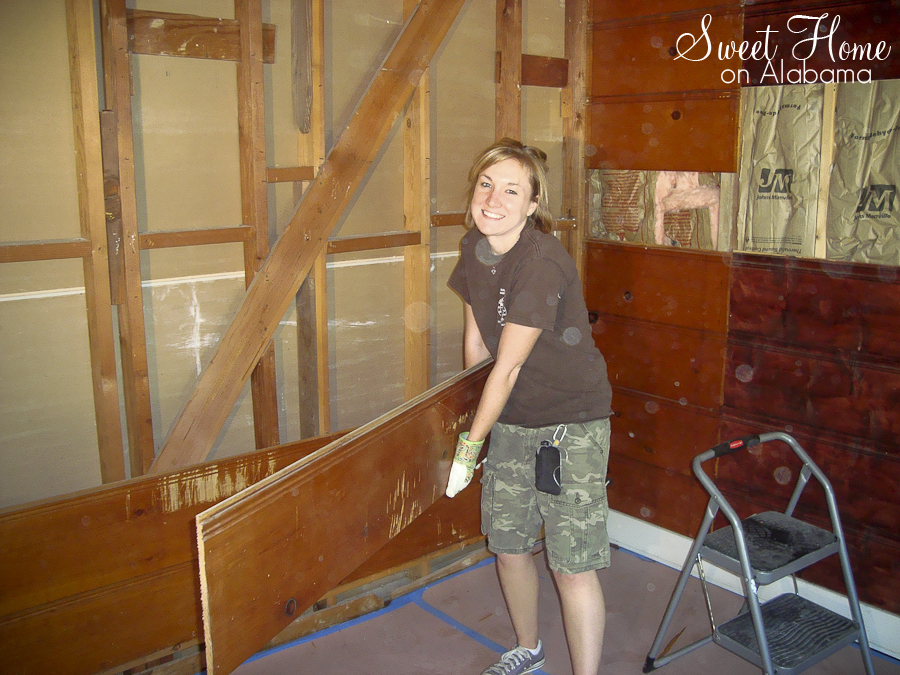
I pulled off my first piece of paneling all by myself! I was so proud :)
Here are Doug's instructions for how to remove paneling:
We found some pretty funny stuff in the walls. Under this part of the molding I found a paint stirrer filling in some empty space!
And between the doorway and the wall, there was newspaper!
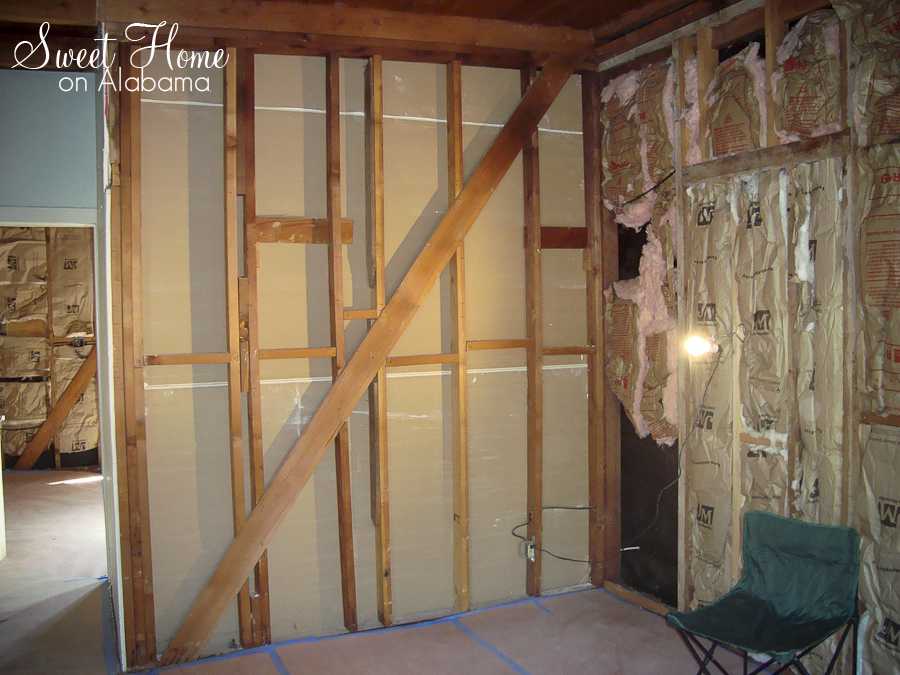
After a few hours, we finished the living room!
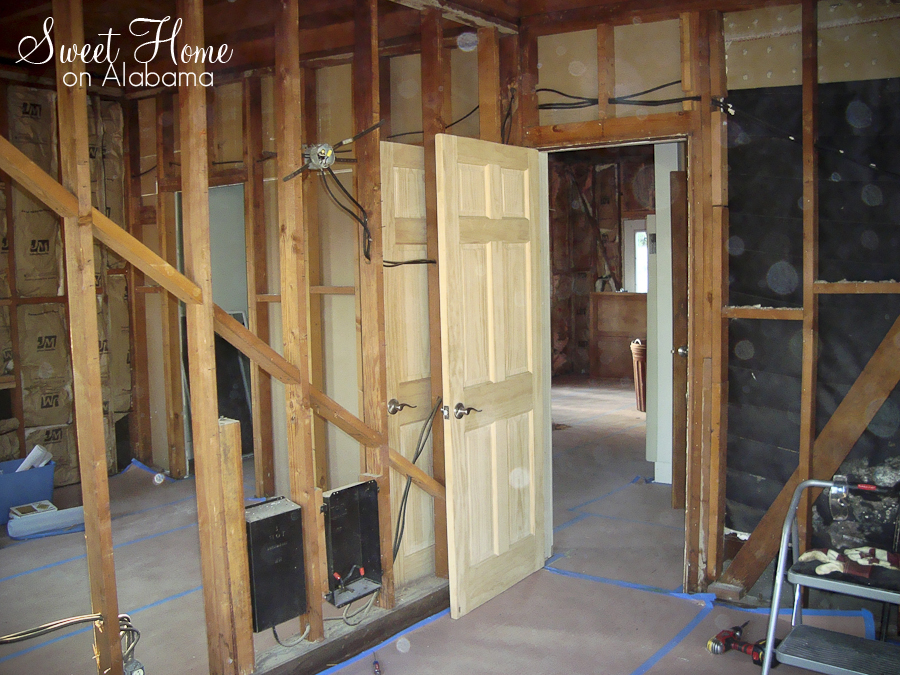
Last but not least was the 2nd bedroom.
We think this white spot was once a closet. We can't be sure though.
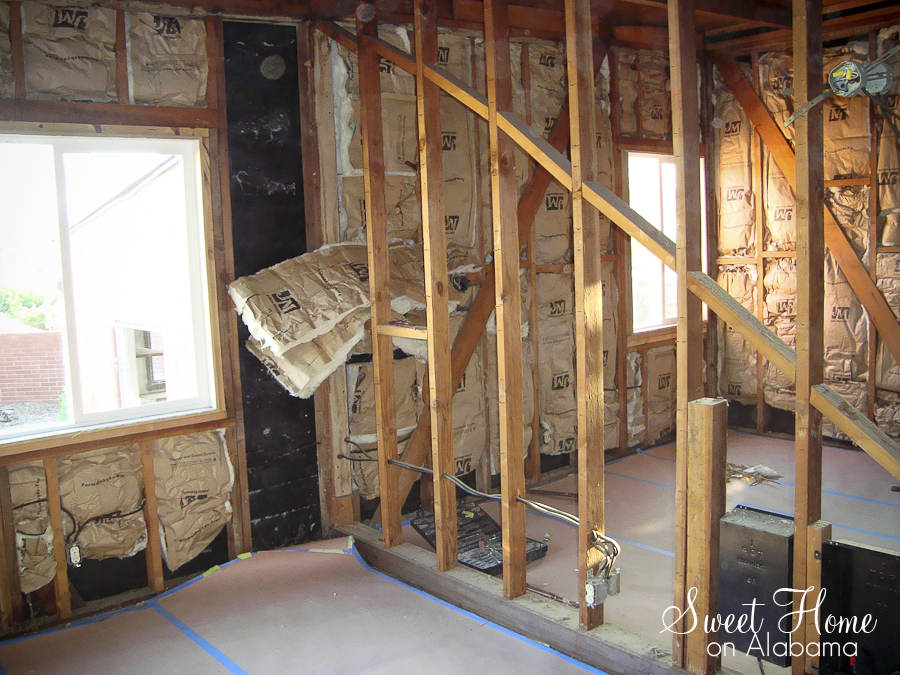
The wall between the 2 bedrooms had no insulation, which made it fun to walk though. I figured I can't do it for much longer, might as well do it now!
Now that demolition is done (for the most part), we'll be moving on to switching out the electrical and framing the new ceiling in the living room!
We'll be sharing our progress with you through this blog. We hope you'll follow along with our journey and that you'll ask questions & give us suggestions!
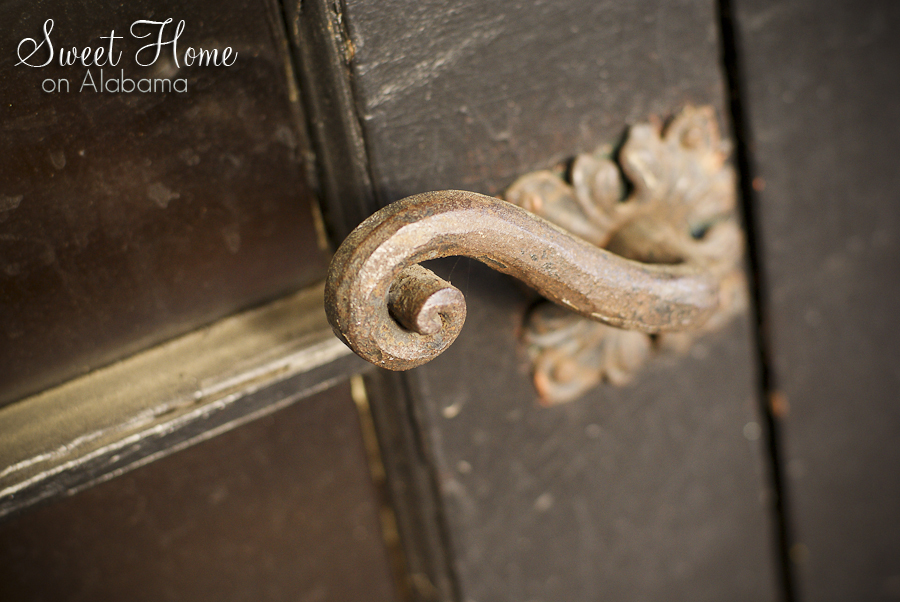
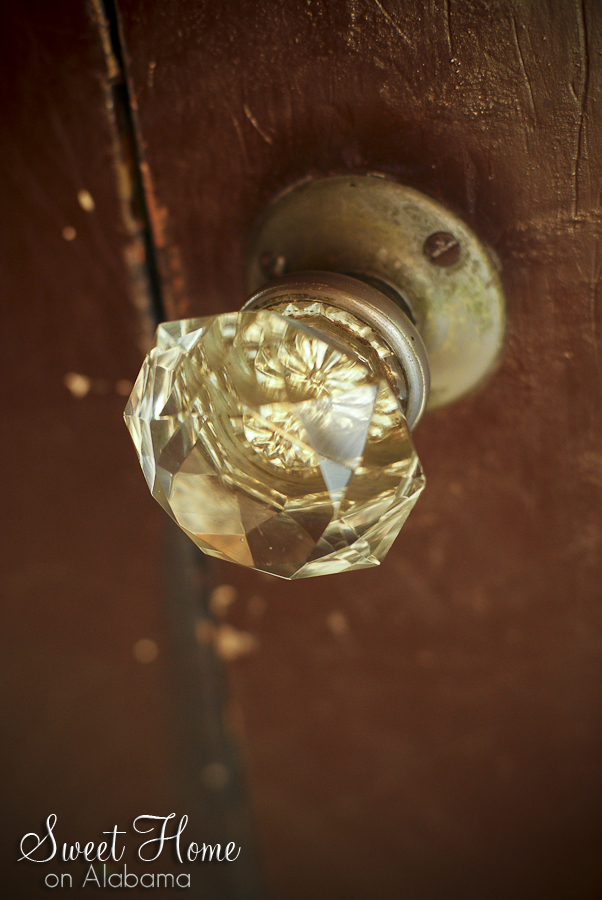
We'll leave you today with a few pictures of details from the house: